Each successive version of Windows has had features that reach out to things you've recently opened, such as jump lists that let you open things you've been working on with certain applications. However, these features also cause serious headaches for people who value privacy. If you really want to delete all your recent file history in Windows, this guide will provide some options!
Delete recent files from File Explorer
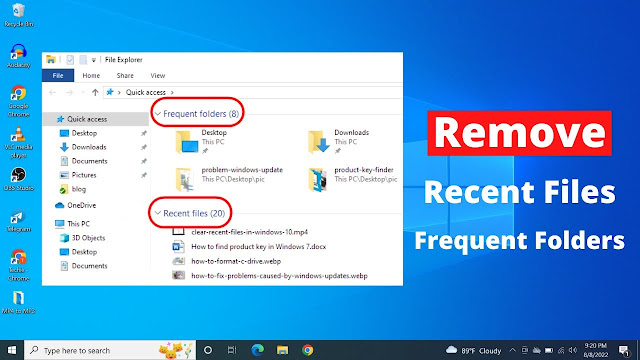
File Explorer is the hub for everything you've accessed. If you want to delete all your recent files from Windows, this is probably where you should start.
Your history will appear in the left panel and on the Home screen, below the Quick access section.
If you just want to remove one item, right-click the item, then tap Remove from Recent. But maybe you're here to permanently erase your history.
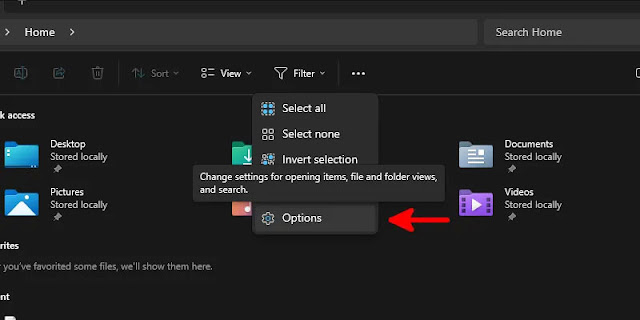
If so, click the three dots near the top of the file list, then click Options.
Inside the Windows Explorer options dialog box on the General tab, uncheck all the options near the bottom in the Privacy section, then click the Clear button next to Clear File Explorer history.
Click OK and watch your history disappear in real time!
Delete history from Registry
Besides File Explorer's Recent list, your registry also stores keys containing a history of what you've typed into its URL bar, as well as all the commands you've run outside of the Run window (Win + R).
To access the Registry, go to the Start menu, type regedit, then press Enter.
Navigate to:
HKEY_CURRENT_USER\Software\Microsoft\Windows\CurrentVersion\ExplorerIn the registry Explorer section, find the key with the folder icon named RunMRU. Right click on it and delete.
This will immediately delete all of your command history.
To delete your path history in File Explorer, scroll down to TypedPaths and delete that path history just like you deleted RunMRU.
If you want to introduce some automation in this process, create a new text file, open it in Notepad and add the following content to it:
To clear your command history
reg delete HKCU\SOFTWARE\Microsoft\Windows\CurrentVersion\Explorer\RunMRU /F 2>nulTo clear your command history:
reg delete HKCU\SOFTWARE\Microsoft\Windows\CurrentVersion\Explorer\TypedPaths /F 2>nulOnce you've added the lines you want to add to your batch file, save it as deletehistory.bat or whatever you want to call it, and make sure All files is selected under Save as type.
Once saved, just double-click the file and let it activate. It will open a command window and quickly disappear after it finishes deleting your history entries.
If you want this batch file to run every time you start the system, open the Run window and run shell:startup. This will take you to the folder containing all the scripts and utilities you run on startup. Drag your newly created batch file there and enjoy automatic history clearing every time you log in to Windows!
If you want to clear your history on demand, you will need to access the batch file and run it manually. For your convenience, you may want to make a copy of it somewhere more accessible than the startup folder.
Disable jump list from Settings
In addition to the histories stored in the Registry and file management utilities, you also have some histories specifically stored by Microsoft to provide suggestions in the Start menu, jump lists, and other quick navigation features that File Explorer does.
To remove these, go to the Settings app via the Start menu and click Personalization in the left panel.
Among the available options on the right, scroll down and select Start.
In this menu, turn off the Show recently opened items in Start, Jump Lists, and File Explorer option.
It is done! You can close the Settings window and continue with your day. Windows will delete any history you have in the areas you just disabled and stop collecting that history for recommendations.
If you're using Windows 10, the process is the same, although the interface will be slightly different from Windows 11.
Want more privacy?
If you plan to install Windows on a system that is not in a trusted environment (public workplace, living environment with roommates you are not completely familiar with, etc.), you can want to consider adding another layer of security to it by installing it without a Microsoft account.
Don't forget to enhance your experience further by applying these privacy settings for Windows for added protection.


No comments:
Post a Comment