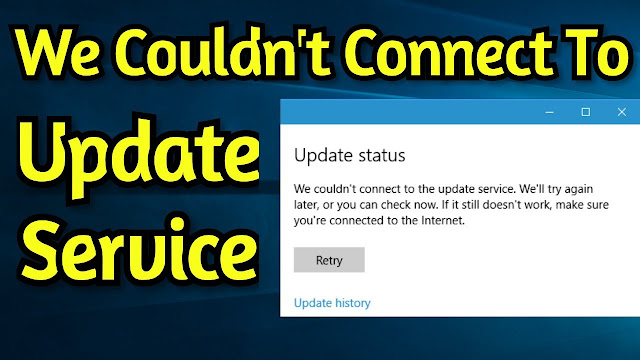
If you are trying to update your Windows 11/10 machine but receive a message We couldn’t connect to the update service, We’ll try again later, or you can check now, If it doesn’t work, make sure you’re connected to the internet here are a few things you could try to fix the issue.
Although this problem mainly occurs when you do not have a valid internet connection, many times, it may also happen due to no reason at all. If you click on the “Retry” button, you will end up getting the same error on your screen.
As we all know, Microsoft is releasing Windows 11/10 patches from time to time for fixing bugs and for adding new stability improvements, security add-ons, and features or dedicated capabilities.
In most situations, the updates are running in the background and are applied automatically.
A. Run the Windows Update Troubleshooter
If you are using Windows 11,
1. Press Windows Keys + I to open Windows Settings
2. Go to System > Troubleshoot > Other troubleshooters.
However, if you're using Windows 10,
1. Open Windows Settings > Update & Security > Troubleshoot.
2. Microsoft has included this page to fix various problems with your computer. You can run different Troubleshooters to fix different problems. Among them you can find the Windows Update Troubleshooter. Click the Run troubleshooter button.
It will open a window and you need to follow the instructions on the screen.
Video:
- If it is Stopped, you need to click the Start button.
- If it is running, you need to click Stop and Start button to restart the service.
- Preferred DNS server 8.8.8.8
- Alternate DNS server 8.8.4.4
If you are using Windows 11,
1. Press Windows Keys + I to open Windows Settings
2. Go to System > Troubleshoot > Other troubleshooters.
If you're using Windows 10,
1. Open Windows Settings > Update and Security > Troubleshoot > Internet Connections
2. Run the troubleshooter and let windows check and fix the problem for you.
After complete the process Restart windows and check again for Windows updates, let us know this helps or not.
Hope something helps.


No comments:
Post a Comment