While the default font setting in Windows 10 may work for some people, others may prefer to make the text on their computer screen larger or smaller.
Whether you're trying to read a long article on a news website or trying to write a report in a word processing program, sometimes you need to adjust the font size.
Fortunately, Windows allows you to customize the font size to your personal taste, making it easy for anyone to read and write on their PCs.
How to Change the Font Size in Windows 10 File Explorer
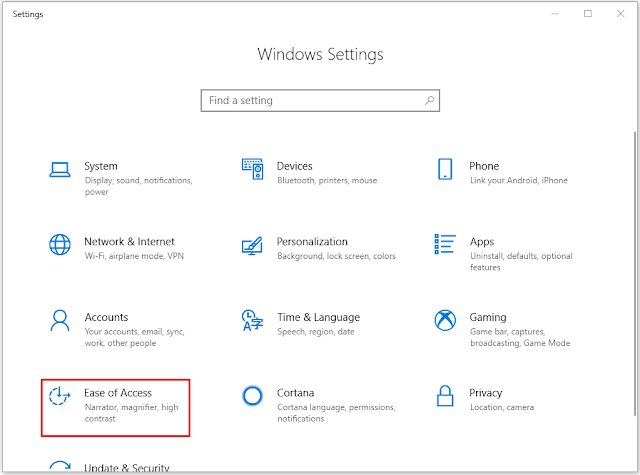
1. Press the Windows Keys + I open the Windows Settings app.
2. In Settings you can click Ease of Access. Click Show in the left panel.
3. In the right window you will see the option Make text bigger. To increase the font size in Windows 10, you can drag the slider under Make text larger to make the text size larger in Windows 10. You can preview the sample text until you think that it is easy to read. Click Apply to make the changes.
In this way, it will resize the text in the entire computer system and all the programs on your Windows computer.
If you think the Windows 10 font size is too large, you can follow the same operation above to change the text size to a smaller size at any time.
Another way to change the font size on your Windows computer is through settings that affect the whole operating system. Doing this won't change the text size in all programs but it will make menus and other buttons easier to read.
1. Right-click the desktop and choose Display settings
2. Scroll to Scale and layout and select the menu next to the text that says Change the size of text, apps, and other items.
3. Choose a zoom level.Video:


No comments:
Post a Comment