To protect you from such threats, Windows Defender has a built-in security feature named Ransomware Protection. In default settings, this feature would not be enabled in your system, thereby putting your data at risk of a ransomware attack. You can manually enable this feature through the following steps:
1. Click on the Start menu. Search for Ransomware protection on the Windows Search bar. Then click on Ransomware protection from the search results.
2. Switch the toggle option to On in the Controlled folder access.
The Ransomware protection will be now enabled on your system. Now, all programs and applications that may try to access your protected folders & files will be monitored by the Windows Defender.
However, you may require certain programs to be given access to such protected files & folders. In such a scenario, the following steps will walk you through as to how such access may be granted.
1. In the same Controlled folder access window, click on Allow an app through Controlled folder access.
2. Click on Add an allowed app. Then add whatever apps for which you want the access to be given.
If you need to view the different actions that have been taken by Windows Defender, click on Filters.
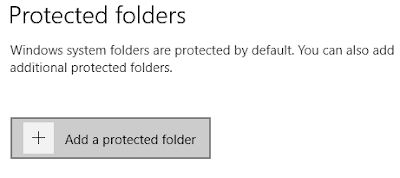
In case you want to protect certain folders from any ransomware attack, you can simply add such folders to the Protected folders by clicking on the Protected folders.
Then click on Add a protected folder to add the folder you want to be added to the protected folders.
We hope that this article aided you to enable Ransomware Protection and was helpful in better protection of your system.
Video:


No comments:
Post a Comment